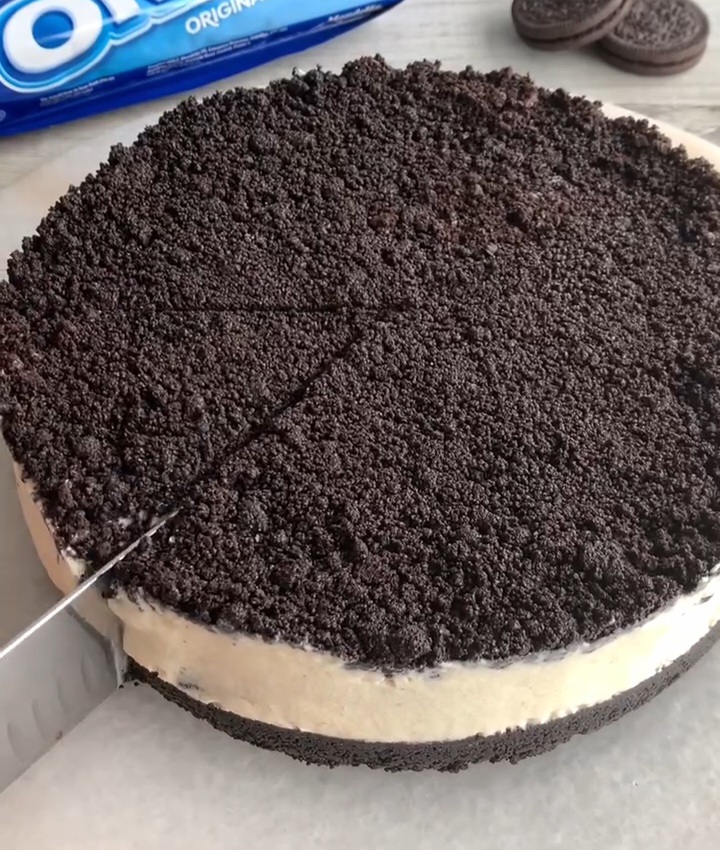
Oreo Ice Cream Cake (No-Bake & 4 Ingredients)
If you love desserts that feel indulgent but don’t demand hours in the kitchen, this one is for you.
This Oreo Ice Cream Cake delivers everything you want:
- Creamy texture
- Crunchy Oreo layers
- Zero baking
- Minimal prep
You don’t need special tools.
You don’t need baking skills.
You don’t even need much time.
You just need a freezer and a craving.
Let’s break it down.
Why This Oreo Ice Cream Cake Works
Some desserts look good but disappoint.
This one doesn’t.
Here’s why it keeps winning:
- The Oreo crust adds structure and crunch
- The filling stays light, creamy, and smooth
- Sweetness stays balanced
- The texture holds when sliced
Most importantly, it feels homemade, not artificial.
That matters.
Ingredients You’ll Need
You only need four basics.
Nothing fancy.
Nothing hard to find.
Ingredients
- Oreo cookies (about 24 cookies)
- Unsalted butter, melted (6 tablespoons)
- Heavy whipping cream (2 cups)
- Sweetened condensed milk (14 oz)
That’s it.
No eggs.
No gelatin.
No oven.
Equipment Checklist
Before you start, grab:
- Mixing bowls
- Whisk or hand mixer
- Spatula
- 8–9 inch cake pan
- Parchment paper
Keep it simple.
Step-by-Step Oreo Ice Cream Cake Recipe
Step 1: Build the Oreo Crust
This layer sets the foundation.
Take your Oreos and crush them.
You have options:
- Food processor for fine crumbs
- Plastic bag + rolling pin for texture
Transfer crumbs to a bowl.
Add melted butter.
Mix until the crumbs look evenly coated and slightly damp.
Set aside one-third of this mixture.
Press the remaining crumbs firmly into your lined cake pan.
Use:
- The back of a spoon
- A flat-bottomed glass
Aim for an even, compact layer.
This prevents crumbling later.
Step 2: Make the Creamy Filling
This is the heart of the cake.
In a clean bowl:
- Add heavy cream
- Pour in condensed milk
Whisk until:
- Thick
- Smooth
- Soft peaks form
Do not overwhip.
Stop once the mixture holds shape but still looks silky.
Now fold in:
- Roughly crushed Oreos (4–5 cookies)
This adds texture without overpowering the cream.
Step 3: Assemble the Cake
Pour the cream mixture over the crust.
Smooth the surface with a spatula.
Sprinkle the reserved Oreo crumbs evenly on top.
Press gently.
This creates a clean finish and extra crunch.
Step 4: Freeze Until Set
Cover the pan tightly.
Freeze for:
- At least 6 hours
- Overnight is better
The cake must be fully set before slicing.
When ready to serve:
- Wrap a warm towel around the pan
- Let it sit for 1–2 minutes
- Release gently
Slice using a hot, clean knife.
Wipe between cuts.
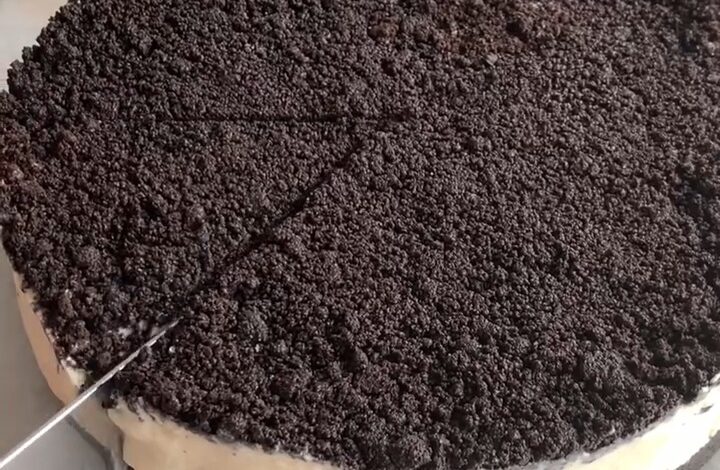
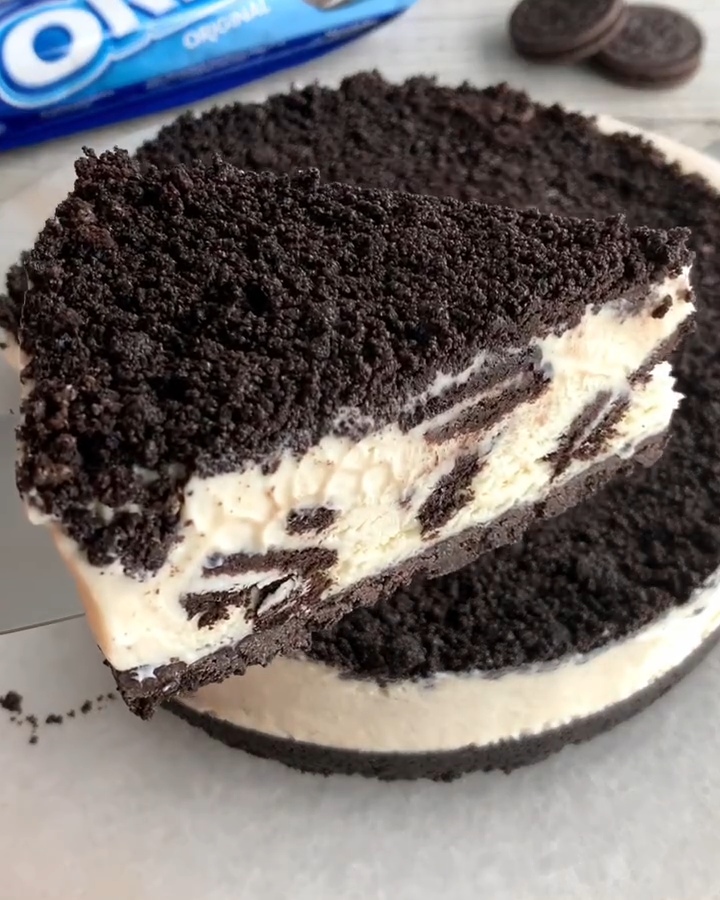
Texture and Flavor Breakdown
What should you expect?
- Bottom: Firm Oreo crunch
- Middle: Light, creamy ice cream layer
- Top: Slightly crisp Oreo crumble
Each bite balances:
- Sweetness
- Creaminess
- Texture
Nothing feels heavy.
Tips for the Best Results
Use Cold Cream
Cold cream whips faster and holds structure better.
Don’t Rush Freezing
Soft centers ruin slices.
Give it time.
Press the Crust Firmly
Loose crumbs fall apart later.
Pressure matters.
Flavor Variations You Can Try
Want to customize?
Try these ideas:
- Mint Oreos for a fresh twist
- Golden Oreos for vanilla lovers
- Chocolate drizzle before freezing
- Caramel swirl in the filling
- Chopped nuts for crunch
Keep the base the same.
Change the personality.
Make-Ahead and Storage Tips
This cake loves the freezer.
To store:
- Wrap tightly
- Use an airtight container
It keeps well for up to 7 days.
Before serving:
- Let it sit out for 5 minutes
- Slice cleanly
- Serve immediately
When Should You Serve This Cake?
This dessert fits almost any moment.
Perfect for:
- Birthday parties
- Summer gatherings
- Family dinners
- Potlucks
- Last-minute desserts
It feels special without effort.
That’s the sweet spot.
Frequently Asked Questions
Can you make Oreo Ice Cream Cake ahead of time?
Yes.
Make it 1–3 days early and freeze.
Can you use different cookies?
Absolutely.
Any crunchy cookie works.
What if you don’t have heavy cream?
Use whipping cream with high fat content.
Low-fat won’t hold.
Can this be dairy-free?
Yes.
- Use dairy-free whipping cream
- Use dairy-free condensed milk
Oreos are already dairy-free.
Why You’ll Make This Again
This recipe checks every box.
- Fast
- Simple
- Reliable
- Crowd-approved
You don’t need to explain it.
You just serve it.
And watch it disappear.
If you want a dessert that feels indulgent without stress, this Oreo Ice Cream Cake earns its place.
You spend minutes preparing it.
You get days of compliments.
That’s a good trade.
Save it.
Make it once.
You’ll make it again.