Looking for a classic dessert that’s easy to make but packs a punch in flavor? This homemade banana pudding recipe is the perfect solution. With just a few simple ingredients and minimal effort, you’ll have a luscious, creamy dessert that everyone will love. Best of all, it only takes 20 minutes to prepare! Let’s dive into how you can make this decadent dessert from scratch.
Easy Homemade Banana Pudding Recipe
Ingredients You’ll Need
- 1 box of instant vanilla pudding mix
- 2 cups of whole milk
- 1 can of sweetened condensed milk
- 1 teaspoon of vanilla extract
- 2 cups of Cool Whip (or homemade whipped cream)
- 5 ripe bananas, sliced
- 1 box of vanilla wafers
How to Make Homemade Banana Pudding
Step 1: Prepare the Pudding Base
Start by grabbing your mixing bowl and adding the vanilla pudding mix and two cups of whole milk. The combination of milk and pudding mix will serve as the base for this creamy dessert. Make sure to whisk the mixture well until it’s smooth.
Step 2: Add the Sweetness
Next, pour in a can of sweetened condensed milk. This ingredient adds a rich, sweet flavor to the pudding that takes it to the next level. Don’t forget a splash of vanilla extract—about one teaspoon is ideal, but feel free to measure with your heart!
Step 3: Mix to Perfection
Using a hand or stand mixer, blend the mixture at medium speed for about two minutes. This will ensure everything is thoroughly combined. After mixing, let it sit for about 5 minutes. This allows the pudding to thicken up to the perfect consistency.
Step 4: Fold in the Cool Whip
Once your pudding base is thickened, gently fold in two cups of Cool Whip. If you prefer, you can substitute this with homemade whipped cream for an even more indulgent dessert. Folding, rather than stirring vigorously, will keep the pudding light and airy.
Step 5: Slice the Bananas
While your pudding mixture is setting, take your five ripe bananas and slice them into thin, even rounds. The ripe bananas bring a natural sweetness and soft texture that pairs perfectly with the creamy pudding.
Assembling the Layers
Now for the fun part: assembling your banana pudding! This is where the magic happens as layers of pudding, cookies, and bananas combine into a delightful treat.
Step 6: Create the First Layer
Grab a large serving dish or bowl. Start by laying down a layer of vanilla wafers at the bottom. This forms the base of your dessert and adds a nice crunch.
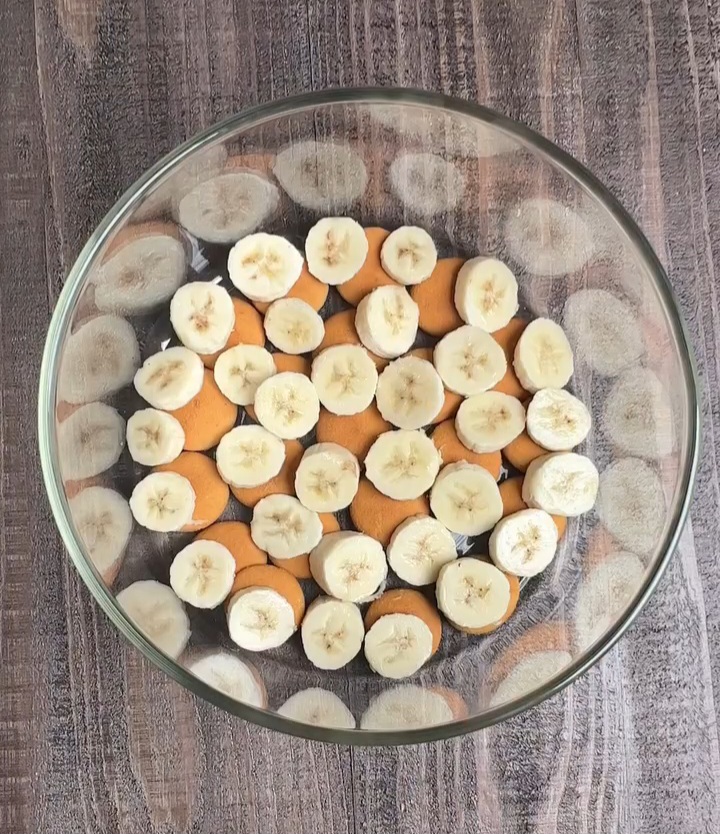
Step 7: Add the Bananas
On top of the wafers, add a layer of the sliced bananas. The sweet, soft bananas are a perfect contrast to the crispy wafers.
Step 8: Add the Pudding
Now, pour a layer of your prepared pudding mixture over the bananas and wafers. Use a spatula to spread it out evenly.
Step 9: Repeat the Layers
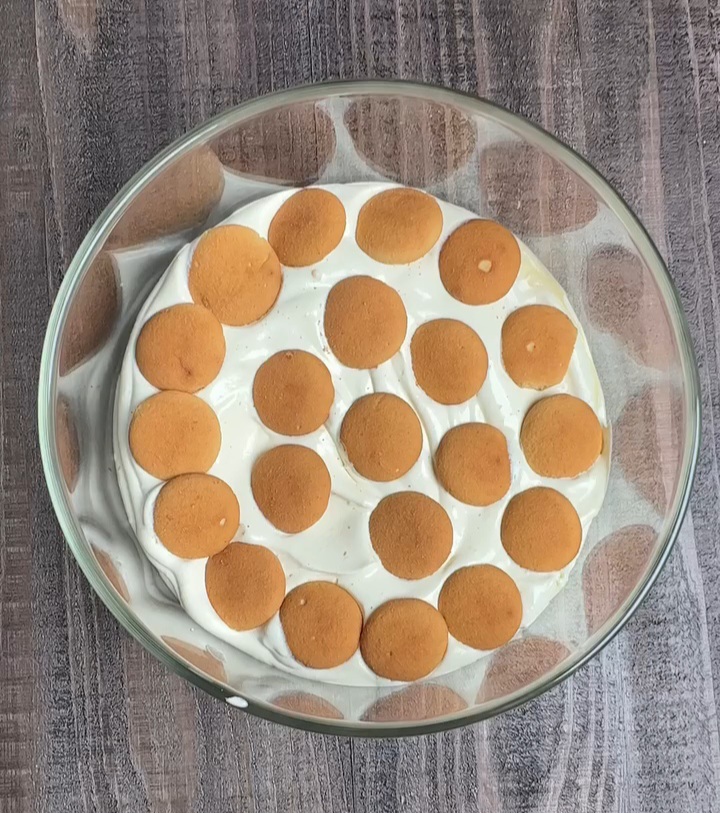
Repeat these layers—vanilla wafers, bananas, pudding—until you reach the top of your dish. You want your final layer to be a thick coating of pudding, ensuring the dessert is creamy all the way through.
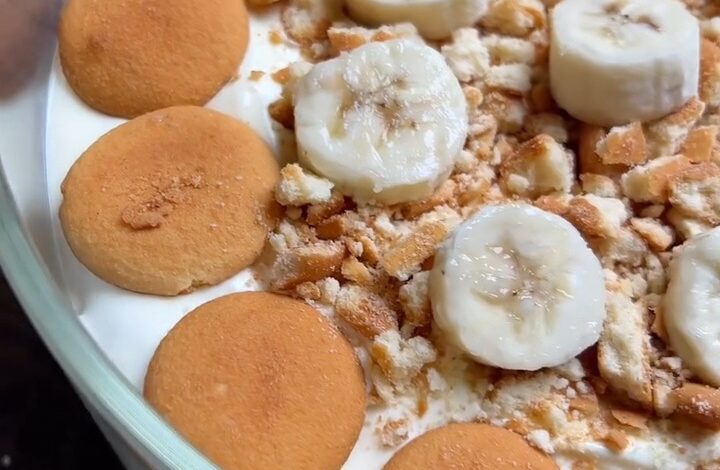
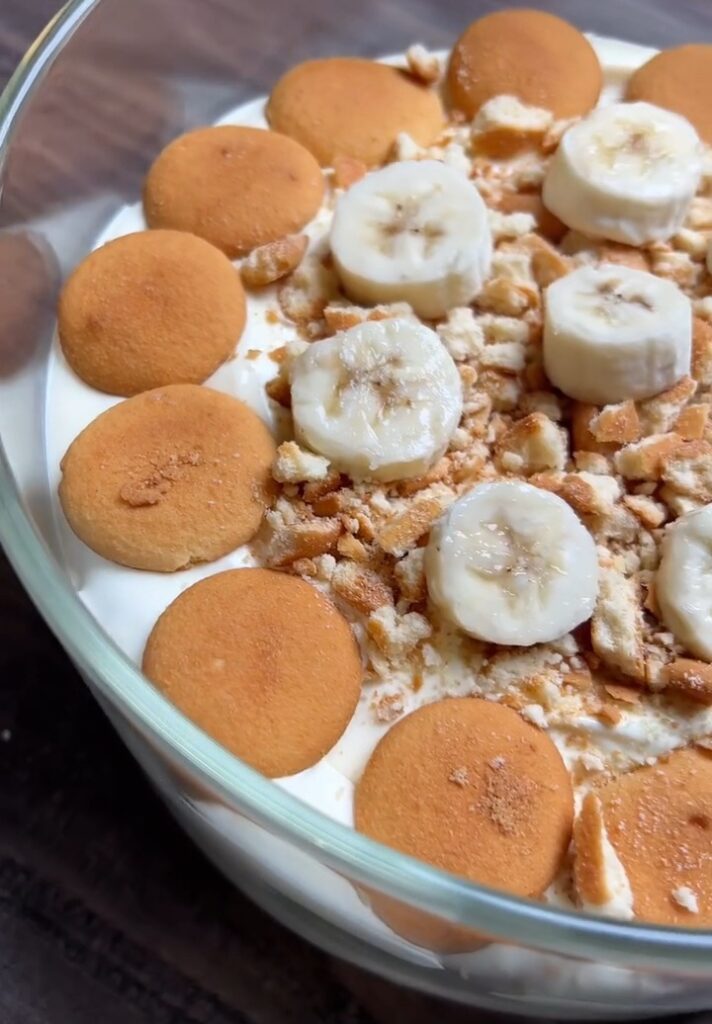
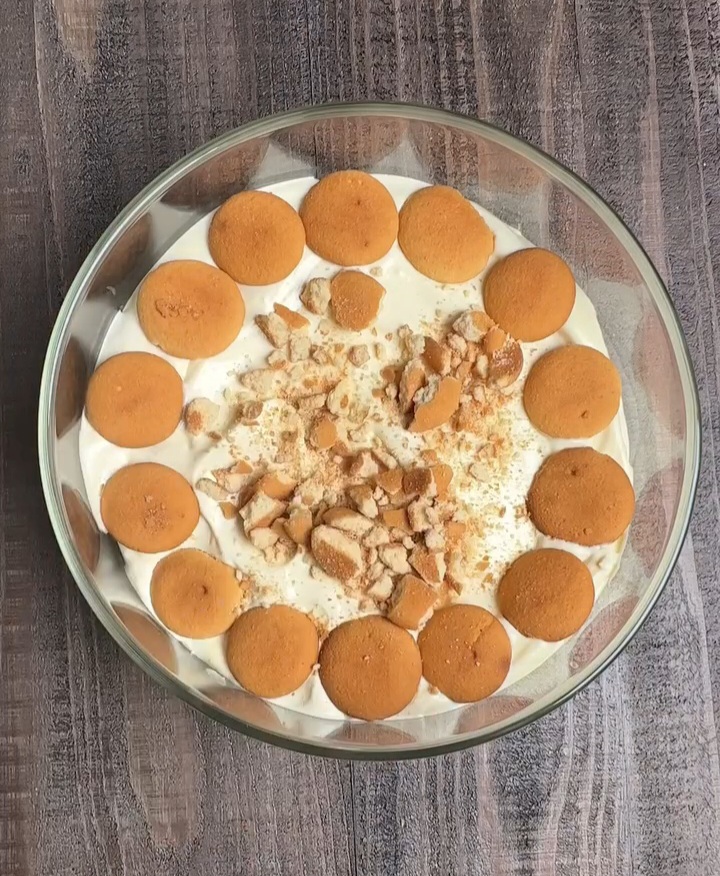
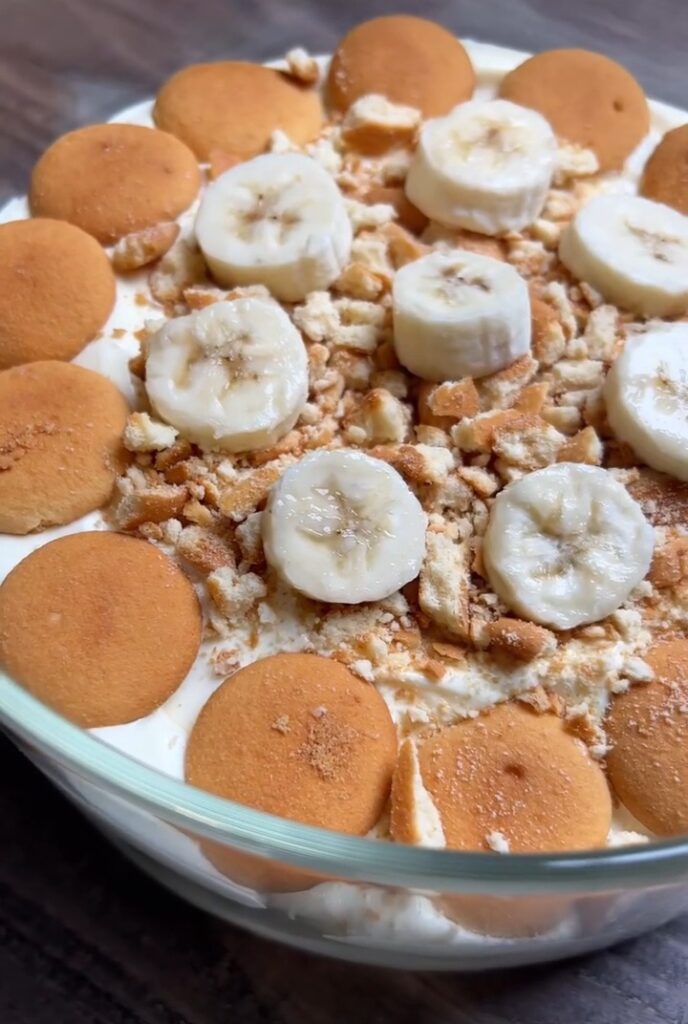
Step 10: Finish with a Topping
For the finishing touch, crumble a few extra vanilla wafers on top for added texture and visual appeal. If you’re feeling fancy, you can even add a few more banana slices or a drizzle of caramel sauce to make it extra special.
Chill and Serve
Once assembled, place your banana pudding in the fridge for at least two hours to allow the flavors to meld together. The pudding will thicken further, and the cookies will soften slightly, giving the dessert its signature texture.
The great thing about this banana pudding recipe is that it can be made ahead of time. It’ll stay fresh in the fridge for up to a week, making it an excellent option for gatherings, potlucks, or just satisfying a weeknight sweet tooth.
Tips for the Best Homemade Banana Pudding
- Use ripe bananas – The riper the bananas, the sweeter and more flavorful your pudding will be.
- Make it your own – You can substitute the Cool Whip with homemade whipped cream if you want a fresher, richer taste.
- Layer creatively – While traditional banana pudding is layered with wafers, bananas, and pudding, feel free to experiment. Try adding a layer of crushed graham crackers or even chocolate chips for a twist.
- Serve in individual cups – For an elegant touch, assemble the pudding in small mason jars or dessert cups. Perfect for parties!
Why You’ll Love This Banana Pudding Recipe
- Quick and Easy: With just 20 minutes of prep, this banana pudding is a stress-free dessert.
- Minimal Ingredients: You probably already have most of the ingredients in your pantry.
- Make-Ahead: It tastes even better after sitting in the fridge for a few hours, so it’s a perfect dessert to prepare in advance.
- Classic Comfort: The combination of creamy pudding, soft bananas, and crunchy wafers is simply irresistible.
Frequently Asked Questions (FAQ)
Can I make banana pudding without Cool Whip?
Absolutely! If you prefer, you can make your own whipped cream by whipping heavy cream and a bit of sugar until it forms soft peaks. It gives the pudding a richer, fresher flavor.
How long does homemade banana pudding last?
Banana pudding can be stored in the fridge for up to one week. The bananas may start to brown after a few days, so it’s best to enjoy it within the first couple of days.
Can I use a different type of milk?
While whole milk gives the pudding a rich and creamy texture, you can substitute it with 2% milk or even almond milk if you prefer a lighter or dairy-free version.
Can I freeze banana pudding?
Banana pudding doesn’t freeze well, as the bananas tend to become mushy, and the texture of the pudding changes once thawed. It’s best enjoyed fresh or after being refrigerated.
This homemade banana pudding is the ultimate comfort dessert, blending the sweetness of bananas with the creaminess of vanilla pudding. Whether you’re serving it at a family gathering or enjoying it as a personal treat, this recipe is sure to impress. Simple, sweet, and absolutely delicious—give it a try, and it might just become your go-to dessert!