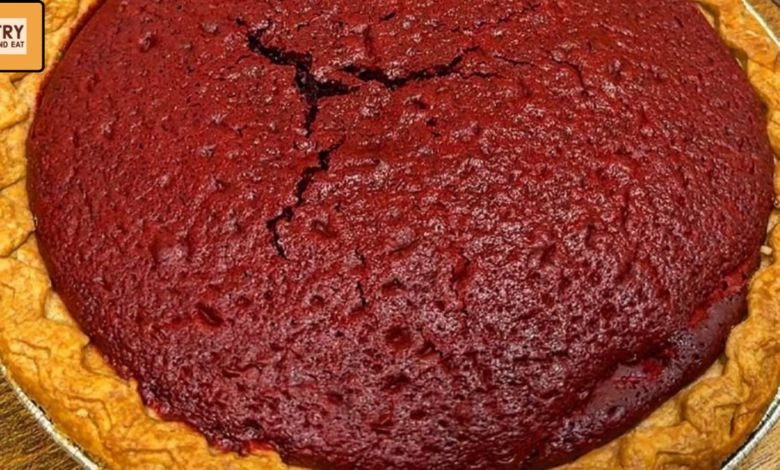
How Do You Make a Perfect Layered Red Velvet Sweet Potato Pie?
👉 You make it by partially baking a creamy sweet potato pie first, then adding a thick red velvet cake batter on top so it bakes into a clean, bold layer without mixing.
This creates that viral, bakery-style slice everyone is obsessed with right now.
🍰 Why This Recipe Is Blowing Up Right Now
This isn’t just dessert — it’s a visual experience:
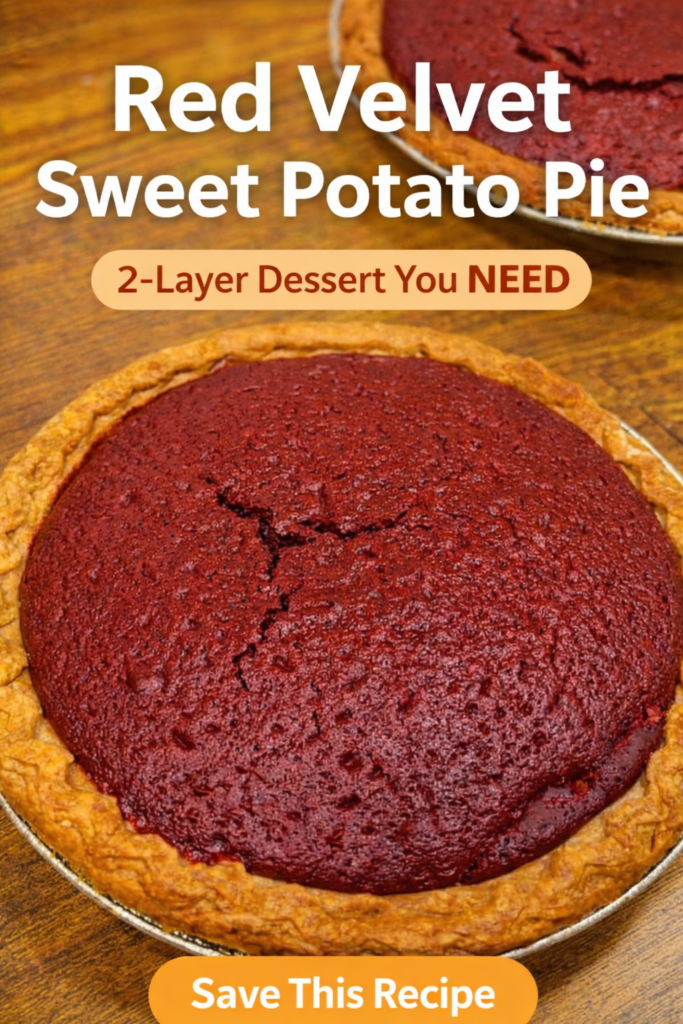
- 🔴 Deep red velvet top (scroll-stopping)
- 🟠 Creamy sweet potato center (comfort food vibes)
- 🥧 Flaky crust (classic Southern base)
- ✨ Clean layered slice (Pinterest gold)
👉 If you love creative mashups, you’ll also want to try this 👉 Sweet Potato Pound Cake with Pecan Glaze

🧾 Ingredients
Pie Base:
- 1 unbaked 9-inch pie crust
Sweet Potato Filling:
- 2 cups mashed sweet potatoes
- ¾ cup brown sugar
- ¼ cup sugar
- ½ cup evaporated milk
- 2 eggs
- ¼ cup melted butter
- 1 tsp cinnamon
- ½ tsp nutmeg
- 1 tsp vanilla
- Pinch of salt
Red Velvet Cake Layer:
- 1 cup flour
- ¾ cup sugar
- 2 tbsp cocoa powder
- ½ tsp baking soda
- ½ tsp baking powder
- ½ cup buttermilk
- ¼ cup oil
- 1 egg
- 1 tsp vanilla
- 1 tsp vinegar
- 1 tbsp red food coloring
👉 Love red velvet? Don’t miss 👉 Salted Caramel Red Velvet Cake

👩🍳 Step-by-Step Instructions
1. Preheat the oven
Set to 350°F (175°C)
2. Make Sweet Potato Filling
- Mix everything until smooth
- Pour into crust
👉 Bake for 25 minutes (this step is KEY)
3. Prepare Red Velvet Batter
- Mix dry ingredients
- Combine with wet ingredients
- Stir until smooth (not runny)
4. Build the Layers (Most Important Step)
👉 Let the pie cool 10–15 minutes
👉 Slowly add thick batter on top
Pro Tip:
Use a spoon to gently spread — prevents sinking
5. Final Bake
Bake 30–35 minutes until set
6. Cool Completely
- Let’s sit for 2–3 hours
- This locks the layers perfectly
🔥 Why This Recipe Works
- Pre-baking = stable base
- Thick batter = no mixing
- Cooling time = clean slices
- Balanced moisture = perfect texture
👉 If you like layered desserts, try 👉 Pineapple Coconut Dream Cake.
🤤 Texture Breakdown (What You’ll Get)
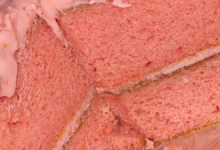
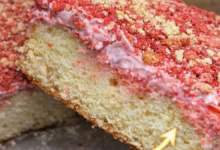
- Top: moist, dense red velvet cake
- Middle: smooth, creamy sweet potato custard
- Bottom: flaky, buttery crust
💡 Pro Tips for Bakery-Level Results
- Use room-temperature ingredients
- Don’t rush cooling
- The batter should be thick, not runny
- Avoid overbaking (keeps it moist)
👉 Want ultra-moist cakes every time? Read 👉 Easy Red Velvet Cake (Inspired by Martha Stewart) – Moist, Rich, and Perfect for the Holidays
🔄 Ingredient Swaps
- Buttermilk → milk + lemon juice
- Brown sugar → coconut sugar
- Evaporated milk → heavy cream
❓ FAQ (Featured Snippet Optimized)
Why did my red velvet layer sink?
Your filling wasn’t set, or the batter was too thin.
Can I bake everything at once?
No — layers will blend and ruin the effect.
Can I make this ahead?
Yes — it’s actually better the next day.
🧊 Storage Tips
- Fridge: up to 4 days
- Freezer: up to 2 months
- Best served slightly chilled or room temp
🏆 Final Takeaway
This recipe wins because:
- It’s visually irresistible
- It taps into comfort + curiosity
- It’s different from everything on Google
- It’s built for Pinterest + viral sharing
👉 If you’re building a dessert content cluster, pair this with:
- Sweet Potato Bundt Cake
- Red Velvet Cheesecake Bars
- Brown Sugar Sweet Potato Cake